MIG welding, aka GMAW (Gas metal Arc Welding), is possibly the most accessible of all metal fusing techniques. As proof of this statement, Metal Inert Gas welding gear can be found pretty much everywhere. From small hobbyist workshops to large-scale construction sites, there’s MIG gear sitting there, waiting to be picked up and used on a variety of projects. Garages, fabrication shops, it’s exactly the same, the equipment functions as a preferred welding companion for metalworking veterans in all kinds of locations, consumer-based, industrial, and home-based.

Source: https://www.millerwelds.com/resources/article-library/the-garage-guys-guide-to-welding-welding-safely-in-the-home-shop
Being that it’s such a versatile and accessible setup, beginners are quick to adopt MIG machines, too. Enough on that, a compelling case has been made for MIG; it’s a widespread technique, one that’s earned its position as opener in this series of basic welding techniques. That being said, a small section of the article now needs to be reserved to describe a typical MIG welding process.
MIG Welding Fundamentals: How to MIG Weld
The good news is that there are only a handful of things to focus on when MIG welding. Let’s break them down. Get the ground clamp attached first. Take time while doing this; a poorly grounded metal part will cause the arc to sputter and stray. The next step is to consult the instructions for the job if they’re included. If not, or if this is a recreational/hobbyist project, use a welding chart to set the voltage/current setting on the equipment control panel. The same workflow applies to the selection of the shielding gas and the filler wire, too.

Source: https://welderslab.com/how-to-ground-your-welder
Necessary facts to have at hand at this juncture include knowing the alloy grade and gauge. By the way, charts and tables are often included either on the equipment housing or in the manual, but if they’re not included, try heading over to the MIG welding equipment manufacturer website to see if they can be found there. Once the settings and wire feeder are configured, do a last check to make sure all required safety gear is in place. Now, the trigger is pressed. Current flows and a bright arc is generated. Travel speed and nozzle distance from the surface of the weld pool are key. Once that distance and weld angle are set, don’t stray.
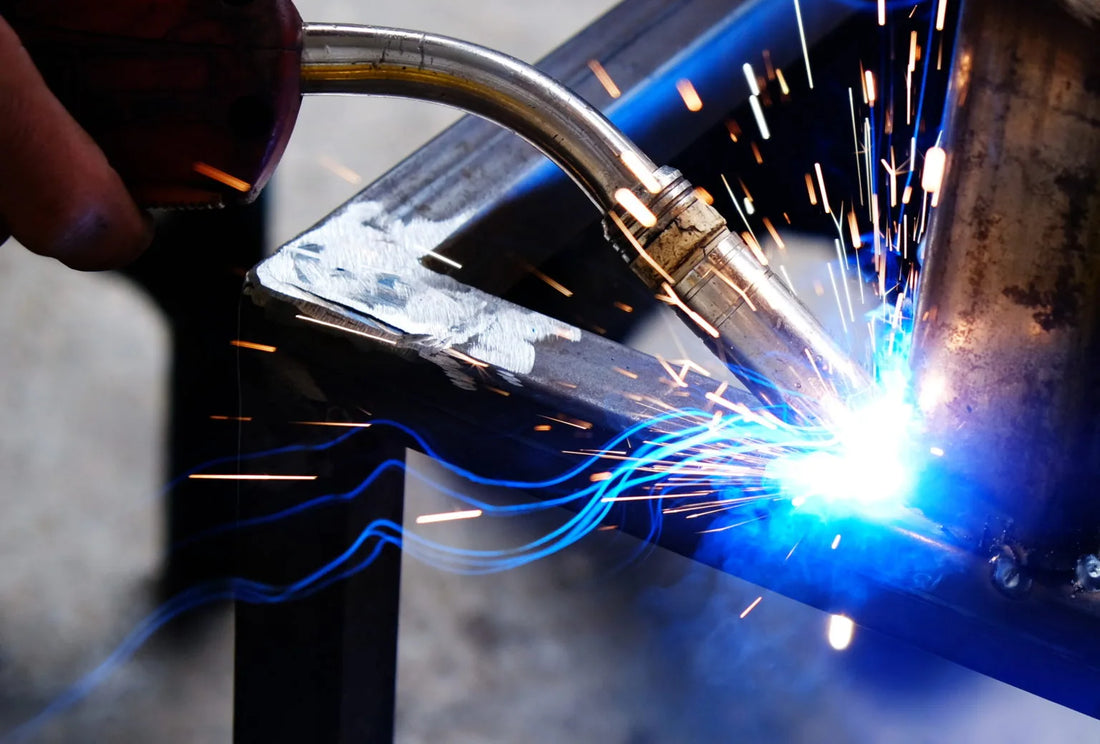
The filler is melting into the weld pool. The base metal is also melting. The two metals meet and fuse. After the job is finished, they’ll cool to produce a strong joint. Before then, however, the shield gas is blanketing the area while the consumable wire is feeding forward. A chosen weld pattern pushes or pulls the weld bead. Stringers or weave patterns are expertly applied at the machine-set travel speed. This is the weld pool manipulation phase. This is what welders see forming under their controlling hands, and it can be quite a hypnotic experience. Rinse and repeat, the process occurs as often as it needs to create a weld bead that’ll match the shape of the joint seams.

Source: https://unimig.com.au/the-ultimate-guide-to-mig-welding/
Welders multitask while manipulating the weld puddle. They check shielding gas flow rates, inspect the cooling joint for oxidization and spatter, and they generally work hard to check the quality of their work. And that, essentially, is the heart of the process. Let’s return to the start of the process and describe a few more basic equipment options.
Describing A Typical MIG Welding Equipment Setup
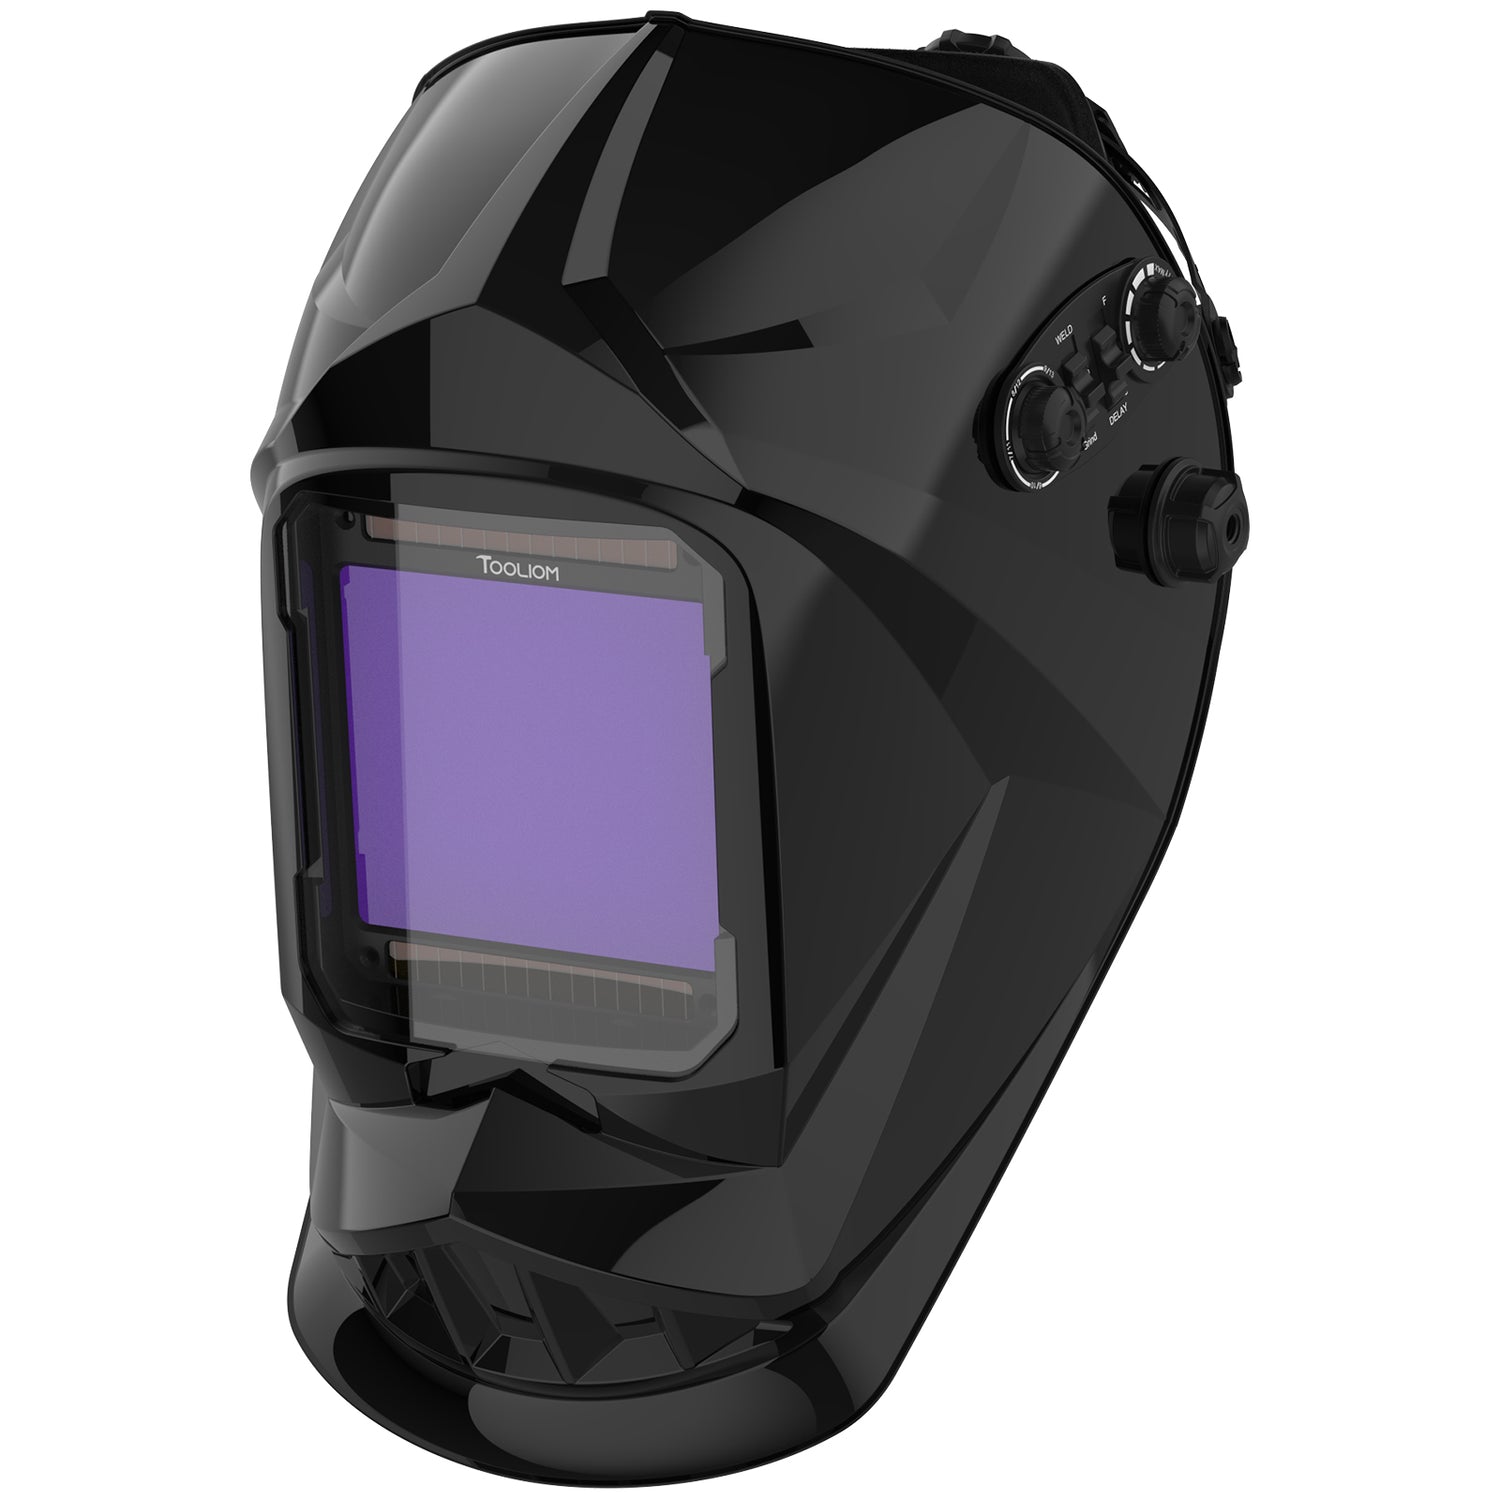
Technique aside, welders need to learn some equipment basics. Key to any welding equipment apparatus, the compact chassis of the gear takes up a prominent position. For the purpose of providing a suitable example for this article, let’s say the machine is a multi-process Tooliom TL-200M. Component two in the equipment setup, that’s the shielding gas, which leaves consumable welding wire as the third and final machine ingredient. Accessories also abound around the machine. There’s a hose for the gas cylinder, a regulator and flow gauges, plus couplings to create a seal all the way along the hose.

MIG/Stick/TIG Multi-Process Welder TL-200M 3 in 1 Welding Machine|Tooliom
On the machine itself, the goal is to generate an electrical arc. To do that, a circuit is generated. It begins at the equipment terminal, flows along the insulated cable, arriving at the welding gun. Specifically, a short-circuit occurs and generates arc-generating power, which is then directed to the welding wire. That arc is “struck” between the conductive workpiece and the wire. As the wire melts while being assaulted by heat from the arc, it forms a weld pool. Meanwhile, more wire rolls out to replace the consumed material. Last in the circuit, the ground clamp functions as the return path for the electrical charge.

Making the Environment Around the Heat Zone MIG Ready
Perhaps the real question should be, why does the area around the weld site need any kind of special preparation. To answer that, the nature of alloy compositions and the way they react with the atmosphere needs some explanation. If a semi-reactive alloy is heated and exposed to the air, strange chemical reactions occur. Oxidation is one problem, then there’s hydrogen saturation and several other unusual heat-induced metallurgical processes to beware of too. Preventing such interactions, a chemically inert gaseous compound is released to blanket the heat affected zone. Now the weld can fuse without incurring joint weakening porosity issues or alloy oxidizing problems. The result is a strong, clean MIG welded joint that’ll pass even the most stringent welding inspector’s checks.
Beginners Beware: Stick with the Basics
It’s too easy to get caught up in overly detailed explanations and terminology when talking about MIG welding equipment. The welding gun could be broken down into its component parts, its feed system, liner and any number of nozzle fittings. As for the equipment, there’s a confusing number of dials and knobs on the front panel, then there’s data popping up on an LCD panel to decipher. Let’s stick with the simplest possible equipment and gun configurations. A wire diameter has been selected for that Tooliom Multi-process TL-200M. Synergic controls have been accessed, so the current/voltage and wire feed speed are all automatically selected. Stick with the basics. And, if in doubt, sit down and read themanual. It contains everything a welder needs to get started.

It’s suggested that newcomers to welding know the fundamentals, know common terms like GMAW (Gas Metal Arc Welding) and MIG. They’re practically interchangeable terms for the same process, by the way. Understand the way the arc generates, too. Follow that simple circuit all the way to the ground clamp and back to the return lead. Know safety procedures and best operating practices. Apply them at all times. Wear safety goggles and gloves to protect machine operator eyes and hands. The same regulations affect anyone else who may be working in the general area of the welding work. Eye damaging light, skin burning heat, and lung-noxious fumes are all around, as are chips of high-flying hot metal. A well-fitting pair of work overalls is also recommended.

Source: https://www.facebook.com/109350508058422/posts/tip-of-the-weekdont-be-caught-without-your-ppe-onany-exposed-skin-is-vulnerable-/266486715678133/
Project Elements to Establish Before Pulling the Trigger
There are still several factors to go over before the job can begin. For starters, there’s the rest of the workspace preparation to finish. The setup of the shielding gas is a big part of this phase, but there’s more to do yet. What’s more, there’s a conspicuously absent question to answer, and that would be the matter of job compatibility. Here’s a short list of alloys that suit the MIG welding process:
-
Low carbon mild steel
-
Aluminum alloys
-
Stainless steel
-
Nickel
-
Copper
-
Low alloy steels
Higher skill levels and dedicated shielding gas mixes will be required to work on some family member of these alloys, but this information goes beyond the basic levels of understanding set for this article.
Next, having selected the project alloy and ensured it is compatible with the MIG welding process, there’s the last of the prep work to carry out. Do remove layers of conductivity attenuating oxidation when the arc is struck. Use a wire brush that matches the fusion site metal to clean the area. Don’t use a wire brush that’s been applied to other alloys; the brush might contain metal particles that will contaminate the job. Now that the joint area is clean, time should be spent on ascertaining the fit-up positioning. The workpiece joint needs to be secure and easy to access. Options for welding position techniques can be explored at this point as well, but a pro MIG welder should already have this information recorded on the job docket.

Source: https://www.istockphoto.com/search/2/image?phrase=wire+brush
Other information listed on that same job form, assuming this is a construction site job and not a simple hobbyist project, would be the filler wire diameter and type, the thickness of the metal being worked upon, and its metallurgical properties. Remember, different alloy families react to different welding techniques in different ways. An inert cylinder of pure argon or helium is typically utilized on such projects. For more complex alloys, reactive shielding gases and special argon/helium blends are available. Alloy-to-gas tables are usually on-hand to select the matching shield gas when such specialized work variables are in play.
A Fundamental Guide to Process Obstructing Challenges
These are the headache inducing technique botches that tend to hit trainees hard. Of some consolation, they’re man-made, so they’re solvable. For example, if the shielding gas is flowing at the wrong rate, to the point that oxidation or seam porosity weakness seems inevitable, a welder can correct this gaff by raising the gas flow rate. Sure, although MIG welding is easy to pick up, there’s still a learning curve to conquer. Mistakes will be made.

Source: https://twitter.com/TranslasBVWeld/status/1009326812684529664
One piece of advice that’s often given out by pros–they know better– is to make those mistakes on test pieces. That way, they can repeat basic metal inert gas weld positions on scrap metal pieces without worrying about a job ending blunder. The other piece of advice most often heard given freely to MIG beginners is to focus on consistency. A consistent distance, consistent weld angle and weld travel speed, these are all essential when working hard to pull off a high-quality weld bead.
Anything else, including porosity and penetration depth issues, can be managed by accepting the fact that technique is always developing. The main takeaway from this is that if a mistake happens once, it must be corrected and learnt from so that it never happens again.

Source: https://www.thefabricator.com/thewelder/article/arcwelding/how-to-improve-your-welds--helpful-hints-for-gmaw
Final Thoughts: Mastering the Basics of MIG Welding
A positive note to finish on, that’s what’s needed now. A solid foundation has been gained if a welder has picked up all of these basics and embraced them. They can set synergic settings on that Tooliom Multi-process TL-200M or enter manual voltage/current settings on a simpler machine so that they’re working with the right travel speed and penetration depth on every project. This individual is rapidly leaving the beginner phase of their career behind and getting ready to enter fresh, green intermediate territory. It’s an exciting time to be a MIG welder.

MIG/Stick/TIG Multi-Process Welder TL-200M 3 in 1 Welding Machine|Tooliom
Your dedication may not always be appreciated in words and with compliments from your peers, but you’ll have the satisfaction of knowing that all of that prep work and metallurgical knowledge has turned you into a quality welder. Your work is strong and clean, without any defects and free of workpiece distortion. Your maturing technique is taking you beyond the basics. That’s an impressive feat in and of itself. All that’s left to say is to never forget the basics. Use them, build on them, and pass them on to the next generation.
A Priority-Based Timeline: Learning MIG Welding Basics
| Priority Level | Focus Area | Solutions | |
| Safety procedures | Highest | Electrical awareness Safety gear Arc safety measure | Onsite learning |
| Arc Generating Principles | Medium | Learn electrical circuits Joint preparation General site prep | In class theory |
| MIG Welding Technique | High | Weld puddle manipulation Equipment settings Gun angle and distance Shielding gas & Wire types | On the job learning |
| Metallurgical Knowledge | High | Metal thickness Alloy oxidation Compatible alloys | On job and class learning |
| Process Troubleshooting | High | Porosity, penetration depth, oxidation, bead aesthetics, etc | Experience and onsite learning. Ask a pro |
Welding Primer Series 1: How to MIG Weld - FAQ
Q: How does MIG welding work on a fundamental level, and what role does the welding gun play?
A: MIG welding involves generating an electrical arc between the conductive workpiece and the wire. The wire melts to form a weld pool that fuses with the base metal. The welding gun directs the arc and controls the wire feed.
Q: How can beginners learn MIG welding effectively and safely?
A: Beginners should focus on understanding the basics, such as circuitry, safety procedures, and the welding process. Practice on test pieces, maintain consistency in weld parameters, and learn from mistakes. Safety gear, proper technique, and metallurgical knowledge are essential.
Q: What are some common process obstructing challenges that beginners might face in MIG welding, and how can they be overcome?
A: Beginners might encounter challenges like improper gas flow rate, porosity, penetration depth issues, and more. These challenges can be managed by adjusting gas flow rates, focusing on technique improvement, and learning from mistakes.